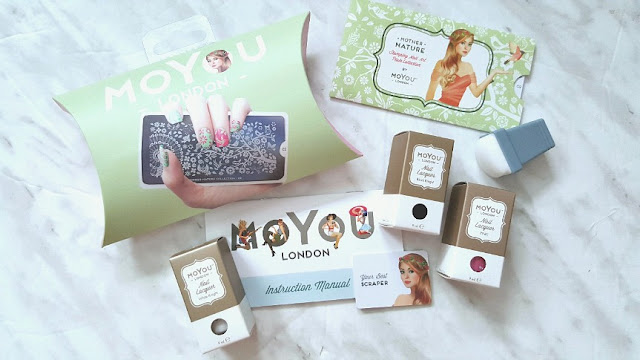
Ever wanted to explore your creative side through having customized nail art instead of opting for a one-color manicure? While I am the type to love a perfect coat of polish (one color, glossy, classic) sometimes on special occasions (or for the fun of it), I do like jazzing up my nails and adding some design and flare. While traditionally you had to visit a professional nail salon to get this done, or perhaps buying pre-printed nail decals to apply to your nails, there are now stamping plates you can purchase which contains various designs that is bound to meet everyone's individual style and taste.
I present to you, Mo You London! now available at Trade Secrets. Template plates start at $13.95 and polishes at$9.95. Kits that niclude the scraper, stamp, template and a polish are $29.95 (prices are subject to change)
Your metal templates come protected with a blue seal on top. To use, make sure you peel it off first so that the polish has somewhere to sit in to imprint your design on the rubber applicator pad. Below I will show you a step by step with pictures on the application process - it's really simple!
I highly recommend you to put a piece of paper towel under your metal template or polishes as it can get messy the first few times you use this. In addition, even though you have perfected the application process, in order to make sure you have clean prints from the templates, you have to make sure you have a clean stamp and scraper each time (before you scrape). That is where the paper towel comes in handy. I always wipe any excess from the scraper onto the paper towel right after each application on each nail. It ensures no overlay of different designs or blurriness.
Start with a base coat of polish on yuor nails and make sure it is dried completely before attempting to stamp your nail art on as you do not want to ruin the polish. I typically only put nail polish on half of the template area I like to use for my nail design as I do not want to waste polish since the majority of it gets scraped off anyways. By only applying polish on half of the area I need it to be, when the scraper scrapes aside the polish, it just naturally sinks into the template leaving you with less wasted polish - (hope I'm making sense here).
Once the polish is scraped off, you can then press the stamp over the design area you want on your nails, and then you can directly then stamp your own nail and the design will be transferred over.
You will most likely get stamped around your cuticle area (as seen in the pic below) - just take a q-tip, small brush and some acetone and it'll easily come off. Allow the newly stamped designs a minute or two to dry and then follow up with a top coat. Voila - you're done!
You may wonder if you really need to buy the polishes from MoYou London to do these designs, well no you don't have to, but the formulation of these polishes offered by MoYou are thicker in consistency and more pigmented, which allows for your designs to pop and stand out more on top of your base coat or natural nail.
I had a lot of fun creating these designs and using this nail kit. Don't worry, practice makes perfect. If you do make an accident, you can quickly take some nail polish remover and gently wipe the surface of your nail before the design dries and it should not affect your pre-dried base coat.
In addition, if you're feeling adventurous you can also add some extra designs onto these stamps - you can add some nail jewels or glitter lets say on the flower designs to really jazz them up!
Until next time, XO-M!


No comments